Water Hardness and Mineral Content: The Primary Culprit
In 70% of the spot complaints I see, the root cause is water hardness above 7 grains per gallon without proper treatment. Calcium and magnesium carbonates don't rinse clean. They bake onto glassware during the 180°F final rinse and leave white film or spots.
California water varies wildly. Orange County averages 12-18 grains in most areas. Inland Empire can hit 25 grains. Coastal zones run 5-8 grains. Your dishwasher doesn't care about your zip code. It needs treated water.
Water Softener Failures
Most high-temp dishwashers rely on an integrated or external water softener. Common failure points:
- Salt depletion: Operators forget to refill the brine tank. Check it weekly. A Hobart FT900 uses roughly 40 pounds of salt per month under normal volume.
- Resin bed exhaustion: Softener resin lasts 3-5 years depending on water volume and hardness. After that, capacity drops and hardness breaks through.
- Bypass valve stuck open: I've seen this on CMA and Stero units where the bypass valve fails in the open position, allowing hard water to mix with softened water.
- Faulty regeneration timer: If the softener doesn't regenerate on schedule, resin capacity depletes and spots appear suddenly.
Test your water hardness at the dishwasher inlet with a simple test strip. Should read under 3 grains. If it's higher, your softener isn't working. Replacement resin tanks for commercial units run $320-$480 depending on capacity.
Rinse Aid System Failures: Delivery Problems
Rinse aid (surfactant) reduces water surface tension so droplets sheet off instead of beading. Without it, you get spots even with perfect water chemistry. The rinse aid system has multiple failure points.
Empty or Incorrect Concentration
Simple, but it happens. Check the rinse aid reservoir. On Hobart units, it's typically on the left side panel. Champion and CMA mount it front right. Should be filled to the indicator line with commercial rinse aid rated for 180°F final rinse. Don't use consumer-grade stuff from the restaurant supply store. It breaks down at high temp.
Failed Rinse Aid Pump
Rinse aid pumps are small peristaltic or diaphragm units. They inject 0.5-2ml per rack depending on setting. Common failures:
- Clogged injector: Rinse aid crystallizes in the injector nozzle, especially if the machine sits idle for days. Pull the injector (usually a barbed fitting at the final rinse arm) and back-flush with hot water.
- Failed pump motor: On Hobart AM15 and FT series, the rinse aid pump is part number 00-437443. Runs about $185. Fails every 4-6 years on average.
- Cracked feed line: The small vinyl tubing from reservoir to pump cracks with age and heat exposure. Rinse aid leaks into the cabinet instead of reaching the wash chamber.
Test rinse aid delivery by running an empty rack and checking for visible dispense at the final rinse cycle. You should see a small stream or spray entering the chamber. If not, the system isn't working.
When to call a tech: If the rinse aid pump has failed or you're seeing error codes related to chemical systems, replacement requires accessing the control board connections and verifying pump voltage. Most operators call us at that point.
Final Rinse Temperature Issues
Final rinse needs to hit 180°F minimum (some health departments require 185°F). Lower temps don't sanitize properly and don't flash-dry dishes. Water sits on surfaces and evaporates into spots.
Booster Heater Problems
High-temp machines use an electric or gas booster heater to raise incoming 120-140°F water to 180°F+ for the final rinse. These fail predictably:
- Failed heating element: Electric elements (typically 6-12 kW) burn out, especially in hard water areas where scale builds up. A Hobart booster element runs $290-$380. Gas booster heaters have pilot and ignition problems. Burner orifices clog.
- Faulty high-limit switch: Safety cutoff trips and won't reset. This is actually a common nuisance trip on Champion and Stero units when ambient temp is high or ventilation is poor.
- Undersized booster for volume: If you've increased covers without upgrading your dishwasher, the booster may not recover fast enough between racks. Final rinse temp drops to 160-165°F by the third or fourth consecutive rack.
Temperature Verification
Don't trust the machine's display. Use an infrared thermometer and shoot the final rinse stream as it enters the chamber. I keep a Fluke 62 MAX on the truck. Should read 180-185°F consistently. If it's bouncing 165-180°F, your booster isn't keeping up or the element is weak.
Also check incoming water temp at the valve. Should be 120-140°F. If building supply is below 120°F, even a healthy booster will struggle.
Detergent and Chemical Balance
Overdosing detergent causes as many spot problems as underdosing. Too much detergent leaves residue. Too little leaves soil. Either way, you get spots.
Detergent Pump Calibration
Commercial dishwashers use automatic detergent dispensers, usually peristaltic pumps calibrated in ml per rack. Factory setting is typically 1-2 ml for standard soil. Operators crank them up thinking more soap equals cleaner dishes. Wrong.
Excess detergent, especially with soft water, creates foam and residue. The final rinse can't remove it all. You get a cloudy film on glassware that looks like spots but is actually soap buildup.
Check detergent concentration with a titration test kit. Your chemical supplier should provide these. Target 200-400 ppm in the wash tank for most machines. If you're over 500 ppm, dial back the pump setting.
Wrong Chemical Type
Low-temp (chemical sanitizing) machines use different detergents than high-temp machines. I've seen operators accidentally use low-temp detergent in a high-temp Hobart. The formula isn't designed for 150°F wash water. It breaks down, leaves residue, and spots everything.
Similarly, using chlorinated detergent with certain water chemistry can cause pitting and etching on glassware, which looks like permanent spots. Alkaline detergents work better in most California water.
Mechanical Component Failures That Cause Spotting
Sometimes spots aren't about chemistry. They're about mechanical failures that prevent proper rinsing or drying.
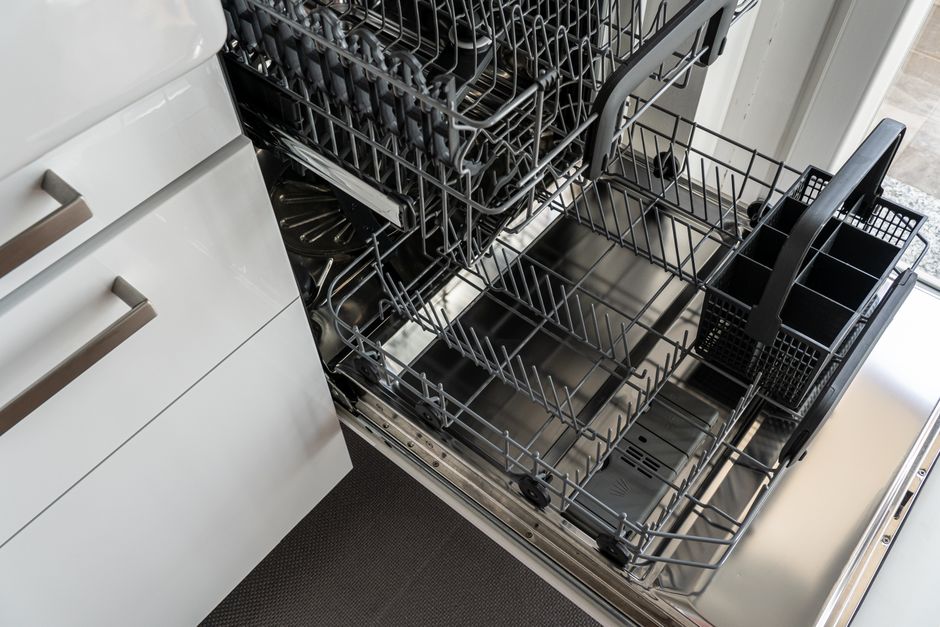
Worn or Clogged Rinse Arms
Final rinse arms spin (or should) and spray 180°F water across all dish surfaces. Over time:
- Spray nozzles clog with mineral deposits or food particles
- Bearings wear and arms stop spinning, leaving dead zones
- Arms crack or warp from heat stress, directing spray away from dishes
Pull the rinse arms monthly and inspect. Hold them up to light and verify all nozzles are clear. Soak in deliming solution (phosphoric acid-based) if you see scale buildup. Replacement arms for a Hobart AM15 run about $220 for the upper and $185 for the lower.
Faulty Drain Valve or Pump
If the drain valve doesn't seal completely or the drain pump is weak, dirty wash water carries over into the final rinse. You're essentially rinsing dishes with soapy, soiled water. Guarantees spots.
Watch a full cycle. At the transition from wash to rinse, the tank should drain completely in 8-12 seconds. If water drains slowly or you see standing water, the drain system has a problem. Could be a stuck valve solenoid, a clogged pump impeller, or a failed drain pump motor.
Air Gap and Vent Problems
Dishwashers need proper ventilation to exhaust steam. If the vent hood isn't working or the built-in blower has failed, steam condenses on dishes during the drying phase. Condensation spots.
On conveyor machines, check that the exhaust blower is running. On door machines, verify the vent louvers aren't blocked. A failed vent blower motor (common on older Hobart C44A units) costs $340-$420 to replace.
When to call a tech: Rinse arm replacement, drain pump diagnosis, and vent blower replacement involve disassembly and potential electrical work. For commercial dishwasher repair involving mechanical components, we stock common parts and fix most issues same-day.
Step-by-Step Diagnostic Procedure for Spot Problems
Here's the sequence I follow on every spot complaint. Work through it in order. Don't skip steps.
1. Visual Inspection of Dishes
Look at the spots under good light. Are they white and chalky (mineral deposits), clear and streaky (rinse aid issue), or cloudy overall (detergent residue)? This tells you where to start.
2. Test Water Hardness
Use test strips at the dishwasher inlet. Should be under 3 grains. If higher, troubleshoot the softener before anything else. Check salt level, test for bypass valve issues, and verify regeneration cycle timing.
3. Verify Final Rinse Temperature
Infrared thermometer on the rinse stream. Must hit 180°F minimum. If low, check booster heater function, incoming water temp, and high-limit switches.
4. Check Rinse Aid System
Confirm reservoir is full with correct product. Run a rack and visually verify rinse aid dispenses into the chamber. If not, troubleshoot pump and injector.
5. Test Detergent Concentration
Titration test on wash tank water. Should be 200-400 ppm. Adjust pump setting if needed. Verify you're using the correct detergent type for your machine.
6. Inspect Rinse Arms
Pull them out. Check for clogs, damage, and free rotation. Clean or replace as needed.
7. Watch a Full Cycle
Stand there and watch wash, drain, and rinse. Listen for pump sounds, watch drain timing, check for leaks or carryover. You'll spot mechanical problems this way.
Typical Fix Times and Costs
| Problem | Parts Cost | Labor Time | Total Range |
|---|---|---|---|
| Rinse aid pump replacement | $185-$240 | 0.5-1 hr | $280-$420 |
| Booster heater element | $290-$380 | 1-1.5 hr | $480-$620 |
| Water softener resin tank | $320-$480 | 1-2 hr | $540-$780 |
| Rinse arm set (upper and lower) | $220-$405 | 0.5 hr | $320-$540 |
| Drain pump motor | $210-$340 | 1 hr | $380-$540 |
Simple fixes like refilling rinse aid, adjusting detergent dosing, or cleaning rinse arms take 10-20 minutes and cost nothing but labor. Most operators can handle these themselves. Component replacements are where you call a pro, especially if you're mid-service and need it fixed fast.
For recurring spot problems that don't resolve with basic troubleshooting, there's usually an underlying water quality or chemical dosing issue. We see this a lot in areas with highly variable municipal water. A water treatment audit and proper softener sizing solve it permanently.